 FieldCamp
Document Templates | FieldCamp
Customize the layout, branding, and content of your estimates and invoices in FieldCamp. Control logos, colors, headers, footers, and which fields display.
Under the hood — see how Estimates & Invoices work in the FieldCamp data model: the fields they hold, how they connect to your other records, and how to customize them.
Document templates control how your estimates and invoices look when clients view them online or as PDFs. You can ask the Command Centre to generate and send documents using your configured templates. Customize your branding, choose which fields to display, and create a professional, consistent look across every document you send.
Where to Find Document Templates
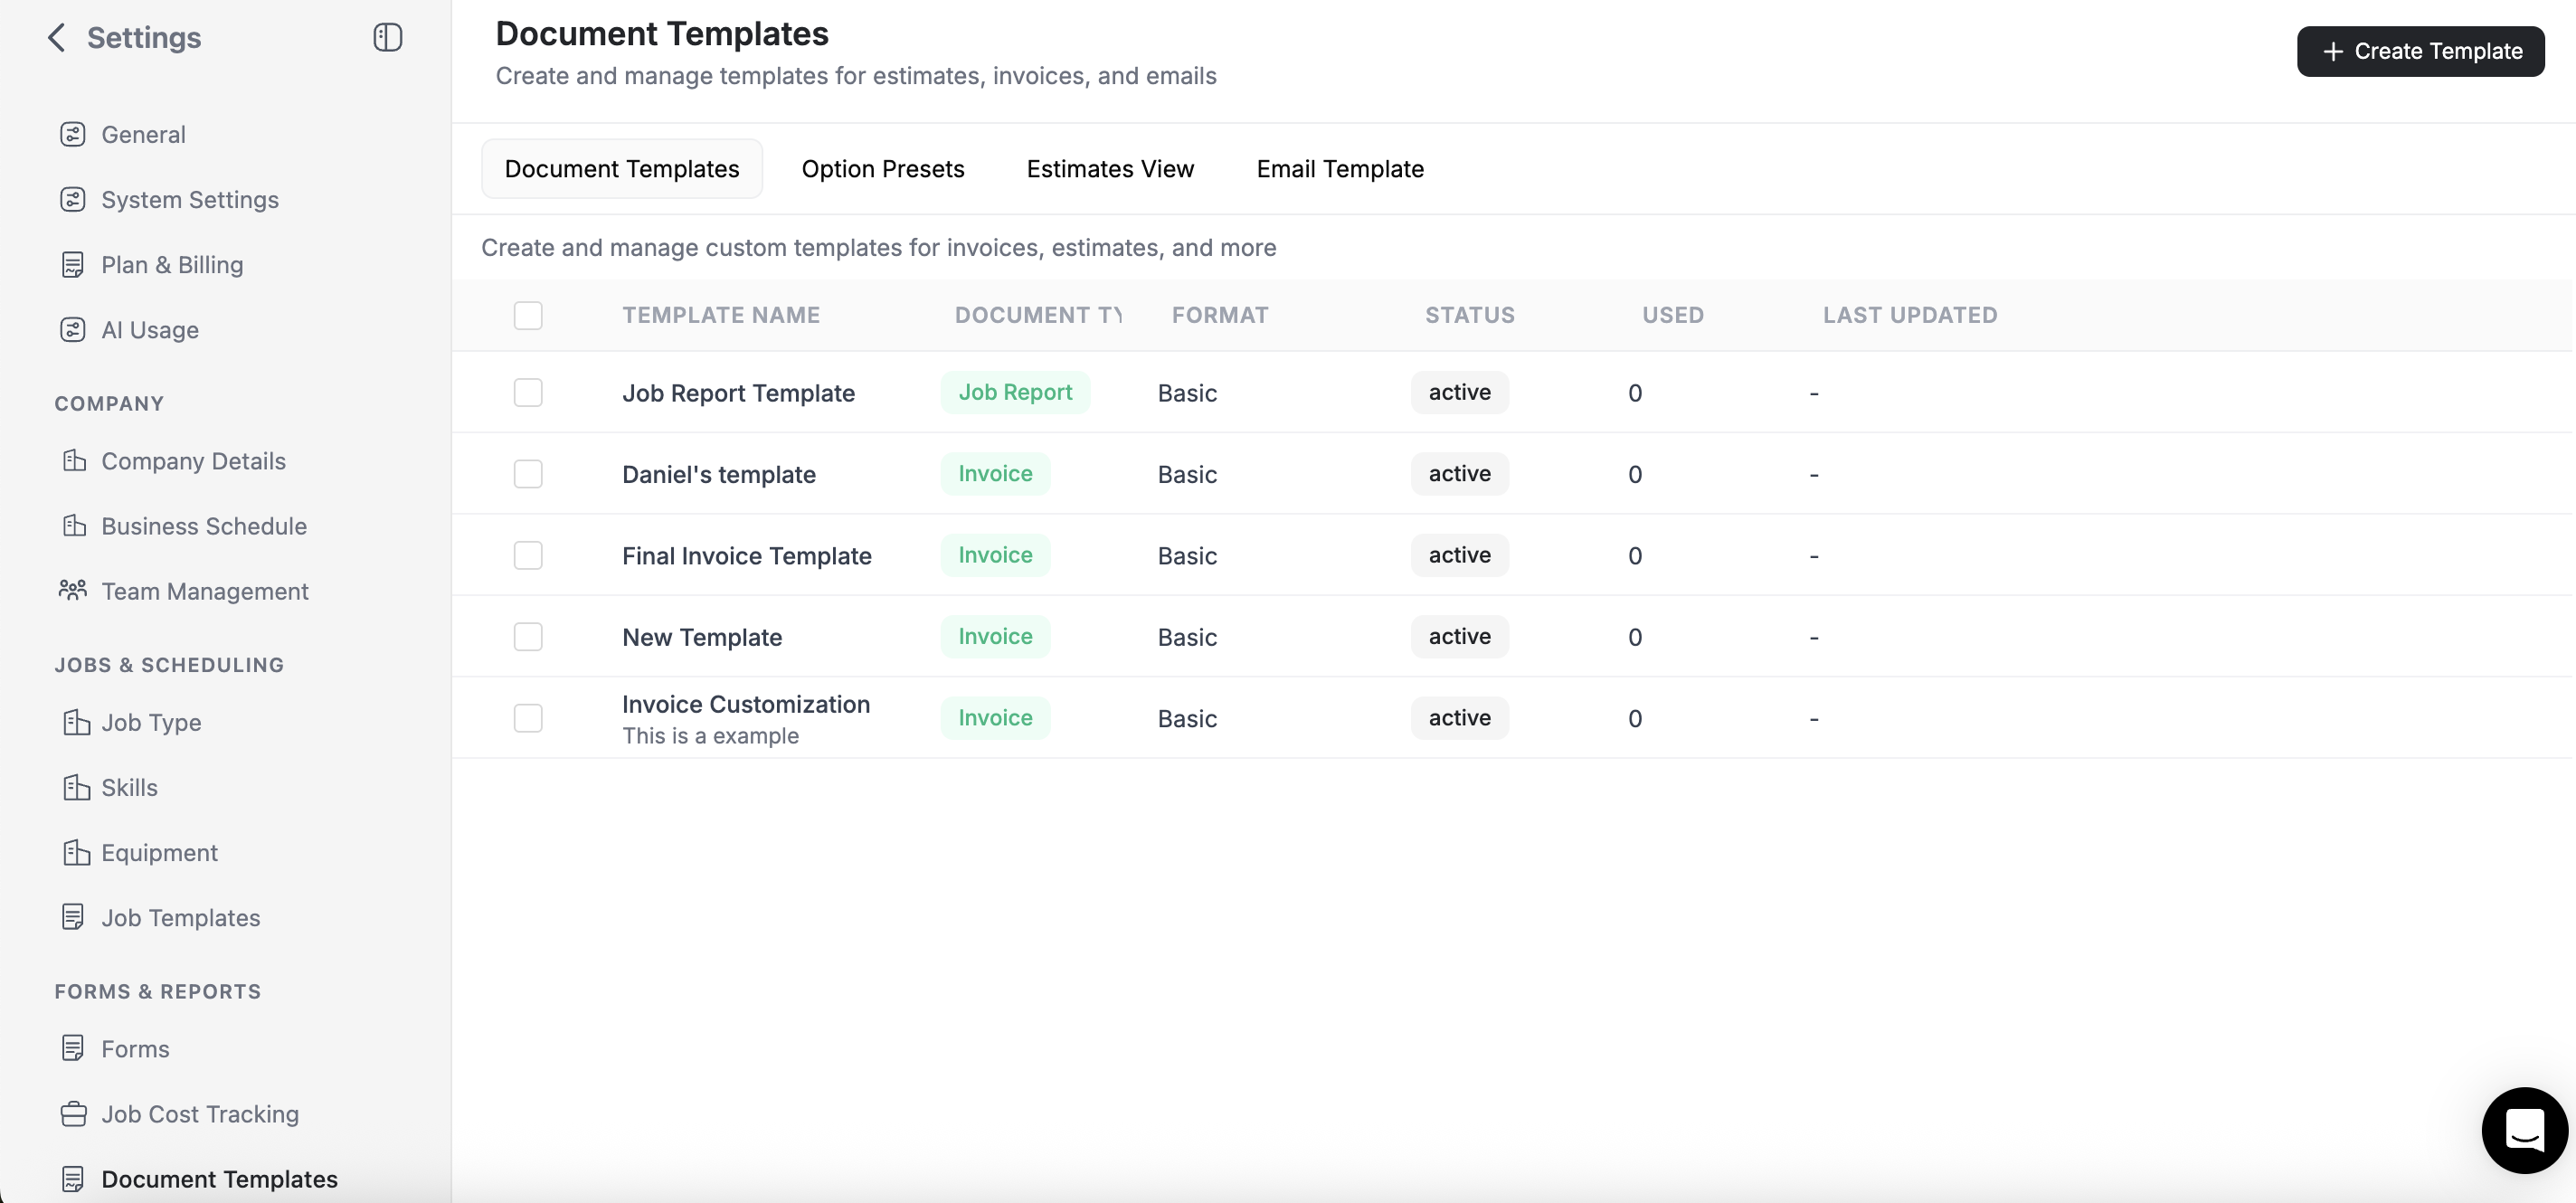
Go to Settings then Document Templates. You will see separate tabs for:
- Estimate Templates -- Control the layout for all estimates (quotes)
- Invoice Templates -- Control the layout for all invoices
- Option Presets -- Reusable option configurations for multi-option estimates
- Email Templates -- Customize the emails sent with your documents
What Templates Control
| Setting | What it does |
|---|---|
| Company logo | Upload your logo to appear at the top of every document |
| Brand colors | Set primary and accent colors for headers, buttons, and highlights |
| Header content | Choose which company details to show: name, address, phone, email, website |
| Line item columns | Toggle which columns appear: description, quantity, rate, tax, amount, and custom fields |
| Footer text | Add a default message at the bottom of every document (e.g., "Thank you for your business") |
| Terms and conditions | Set default terms that auto-populate on new documents |
| Signature fields | Enable or disable digital signature sections by default |
| Numbering format | Customize the prefix and numbering sequence (e.g., EST-2026-0001, INV-0001) |
Estimate Templates vs. Invoice Templates
Estimate and invoice templates are configured independently. This means you can use different branding, footers, or field visibility for each document type.
Example: Your estimate template might include a detailed scope description and expiration date, while your invoice template emphasizes payment terms and the Pay Now button.
| Feature | Estimate template | Invoice template |
|---|---|---|
| Expiration date field | Yes | No |
| Payment terms field | Optional | Yes |
| Deposit section | Yes | Shows deposit applied |
| Approve / Reject buttons | Yes | No |
| Pay Now button | No | Yes (with Stripe) |
| Option tabs (multi-option) | Yes | No |
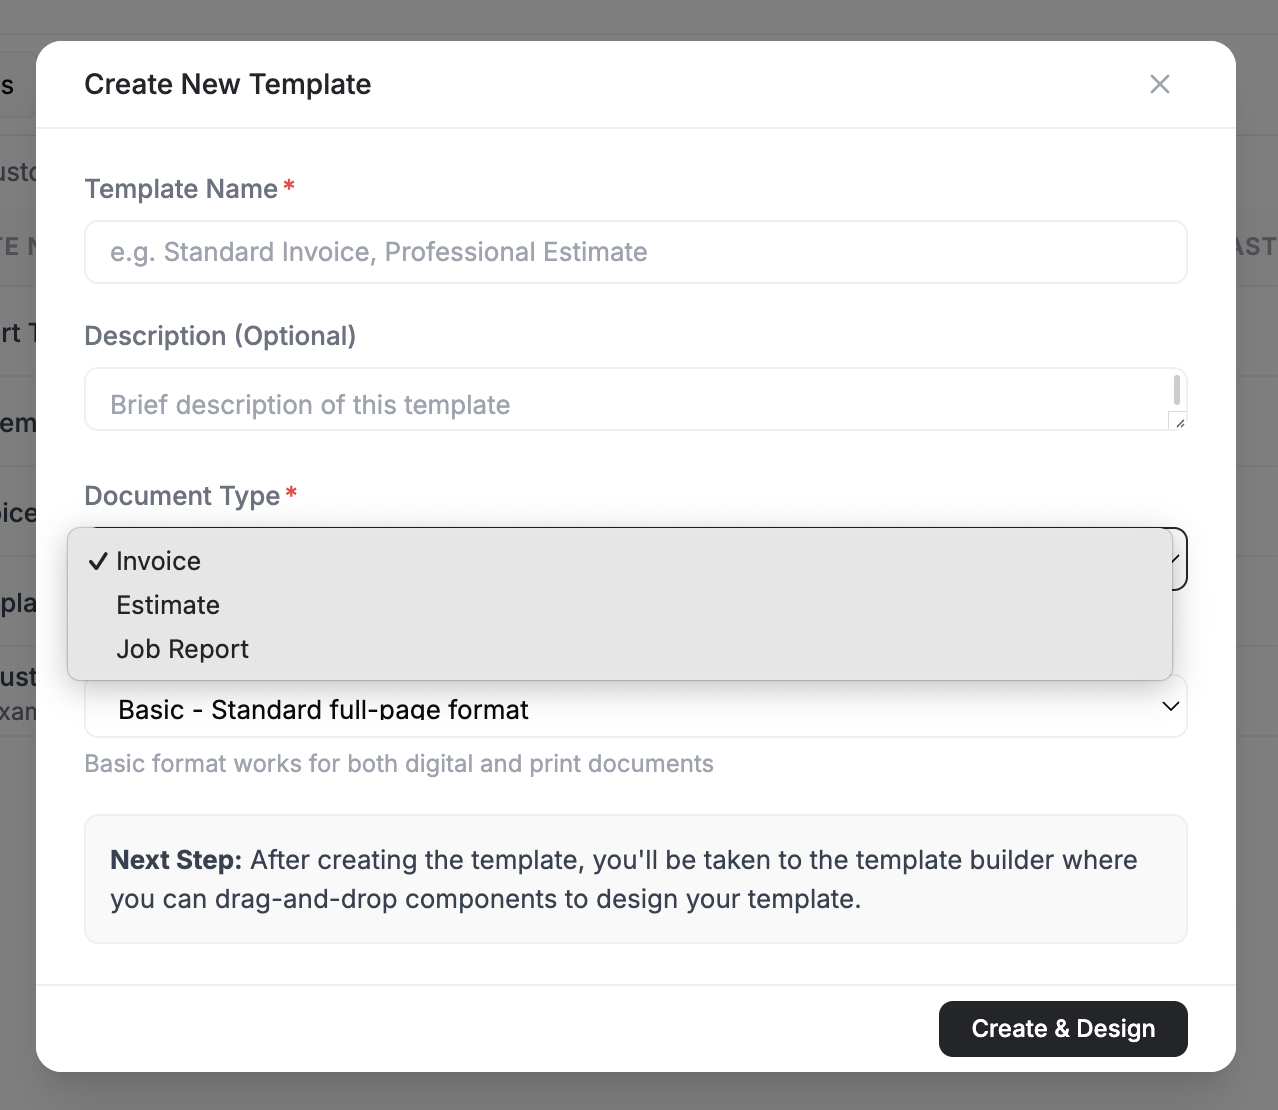
Editing a Template
- Go to Settings then Document Templates
- Select the Estimates or Invoices tab
- Click Edit on the template you want to modify
- Make your changes:
- Upload or replace your logo
- Set brand colors using the color picker
- Toggle fields on or off
- Edit the footer message
- Configure default terms
- Click Save
Preview Before Applying
After making changes, click Preview to see a sample document with your settings applied. The preview uses placeholder data so you can see exactly how the layout, colors, and fields appear without affecting any real documents.
Displaying Custom Fields on Documents
If you have added custom fields to your invoices or estimates (such as Site Name, PO Number, or Project Reference), you can control whether they appear on the client-facing document. Custom fields are created in Settings then Pipeline Configuration -- see Creating Invoices or Creating Estimates for step-by-step instructions.
Enabling Custom Fields in a Template
- Go to Settings then Document Templates
- Select the Invoices or Estimates tab
- Open the Customer View tab
- Find your custom fields in the list of toggleable elements
- Toggle each custom field on to display it on the document, or off to hide it
- Click Preview to see how the field appears on the document
- Click Save Template to apply your changes
Where Custom Fields Appear on the Document
Enabled custom fields display in the document header area, near the document number, date, and client details. This makes them visible to your client on both the online view and the PDF download.
Example: You add a "Site Name" custom field to your invoices (via Settings then Pipeline Configuration then Invoices then Fields) and enable it in the invoice document template. When you send an invoice with Site Name set to "123 Oak Street -- Kitchen Renovation", your client sees that reference on the invoice alongside the invoice number and date.
Custom Fields in Line Item Columns
In addition to document-level custom fields, you can also toggle custom fields as line item columns. These appear in the line item table alongside description, quantity, rate, and amount. Use line item custom fields for per-item details like warranty codes or material specifications.
Custom fields must be created first in Pipeline Configuration before they appear in the document template toggles. See Creating Invoices or Creating Estimates for how to add custom fields. Only admins can create custom fields.
Default Template vs. Custom Templates
Every FieldCamp account comes with a default template for estimates and a default template for invoices. This is the template applied automatically when you create a new document.
If you need different layouts for different situations (for example, a simplified template for small jobs and a detailed template for commercial contracts), you can create additional custom templates and select the appropriate one when creating a document.
Changes to a template apply to all future documents that use it. Existing documents that have already been sent keep the layout they were sent with.
What to Read Next
- Email Templates -- Customize the emails that accompany your estimates and invoices
- Estimate Options and Templates -- Save reusable option presets for multi-option estimates
- Digital Signatures -- Require signatures on your documents
- Creating Estimates -- Build and send professional estimates
- Creating Invoices -- Build and send invoices
Invoice Views & Analytics | FieldCamp
Switch between table, kanban, and analytics views for invoices in FieldCamp. Track revenue, outstanding balances, overdue payments, and collection trends.
Email Templates | FieldCamp
Customize the emails sent with estimates and invoices in FieldCamp. Edit subject lines, body text, and use variables for client name, amount, and more.