 FieldCamp
Manage Client Calls, Emails & SMS | FieldCamp
Manage all client communication from one place. Send emails, review call history, and exchange SMS messages directly from the client detail page in FieldCamp.
Under the hood — see how Customers work in the FieldCamp data model: the fields they hold, how they connect to your other records, and how to customize them.
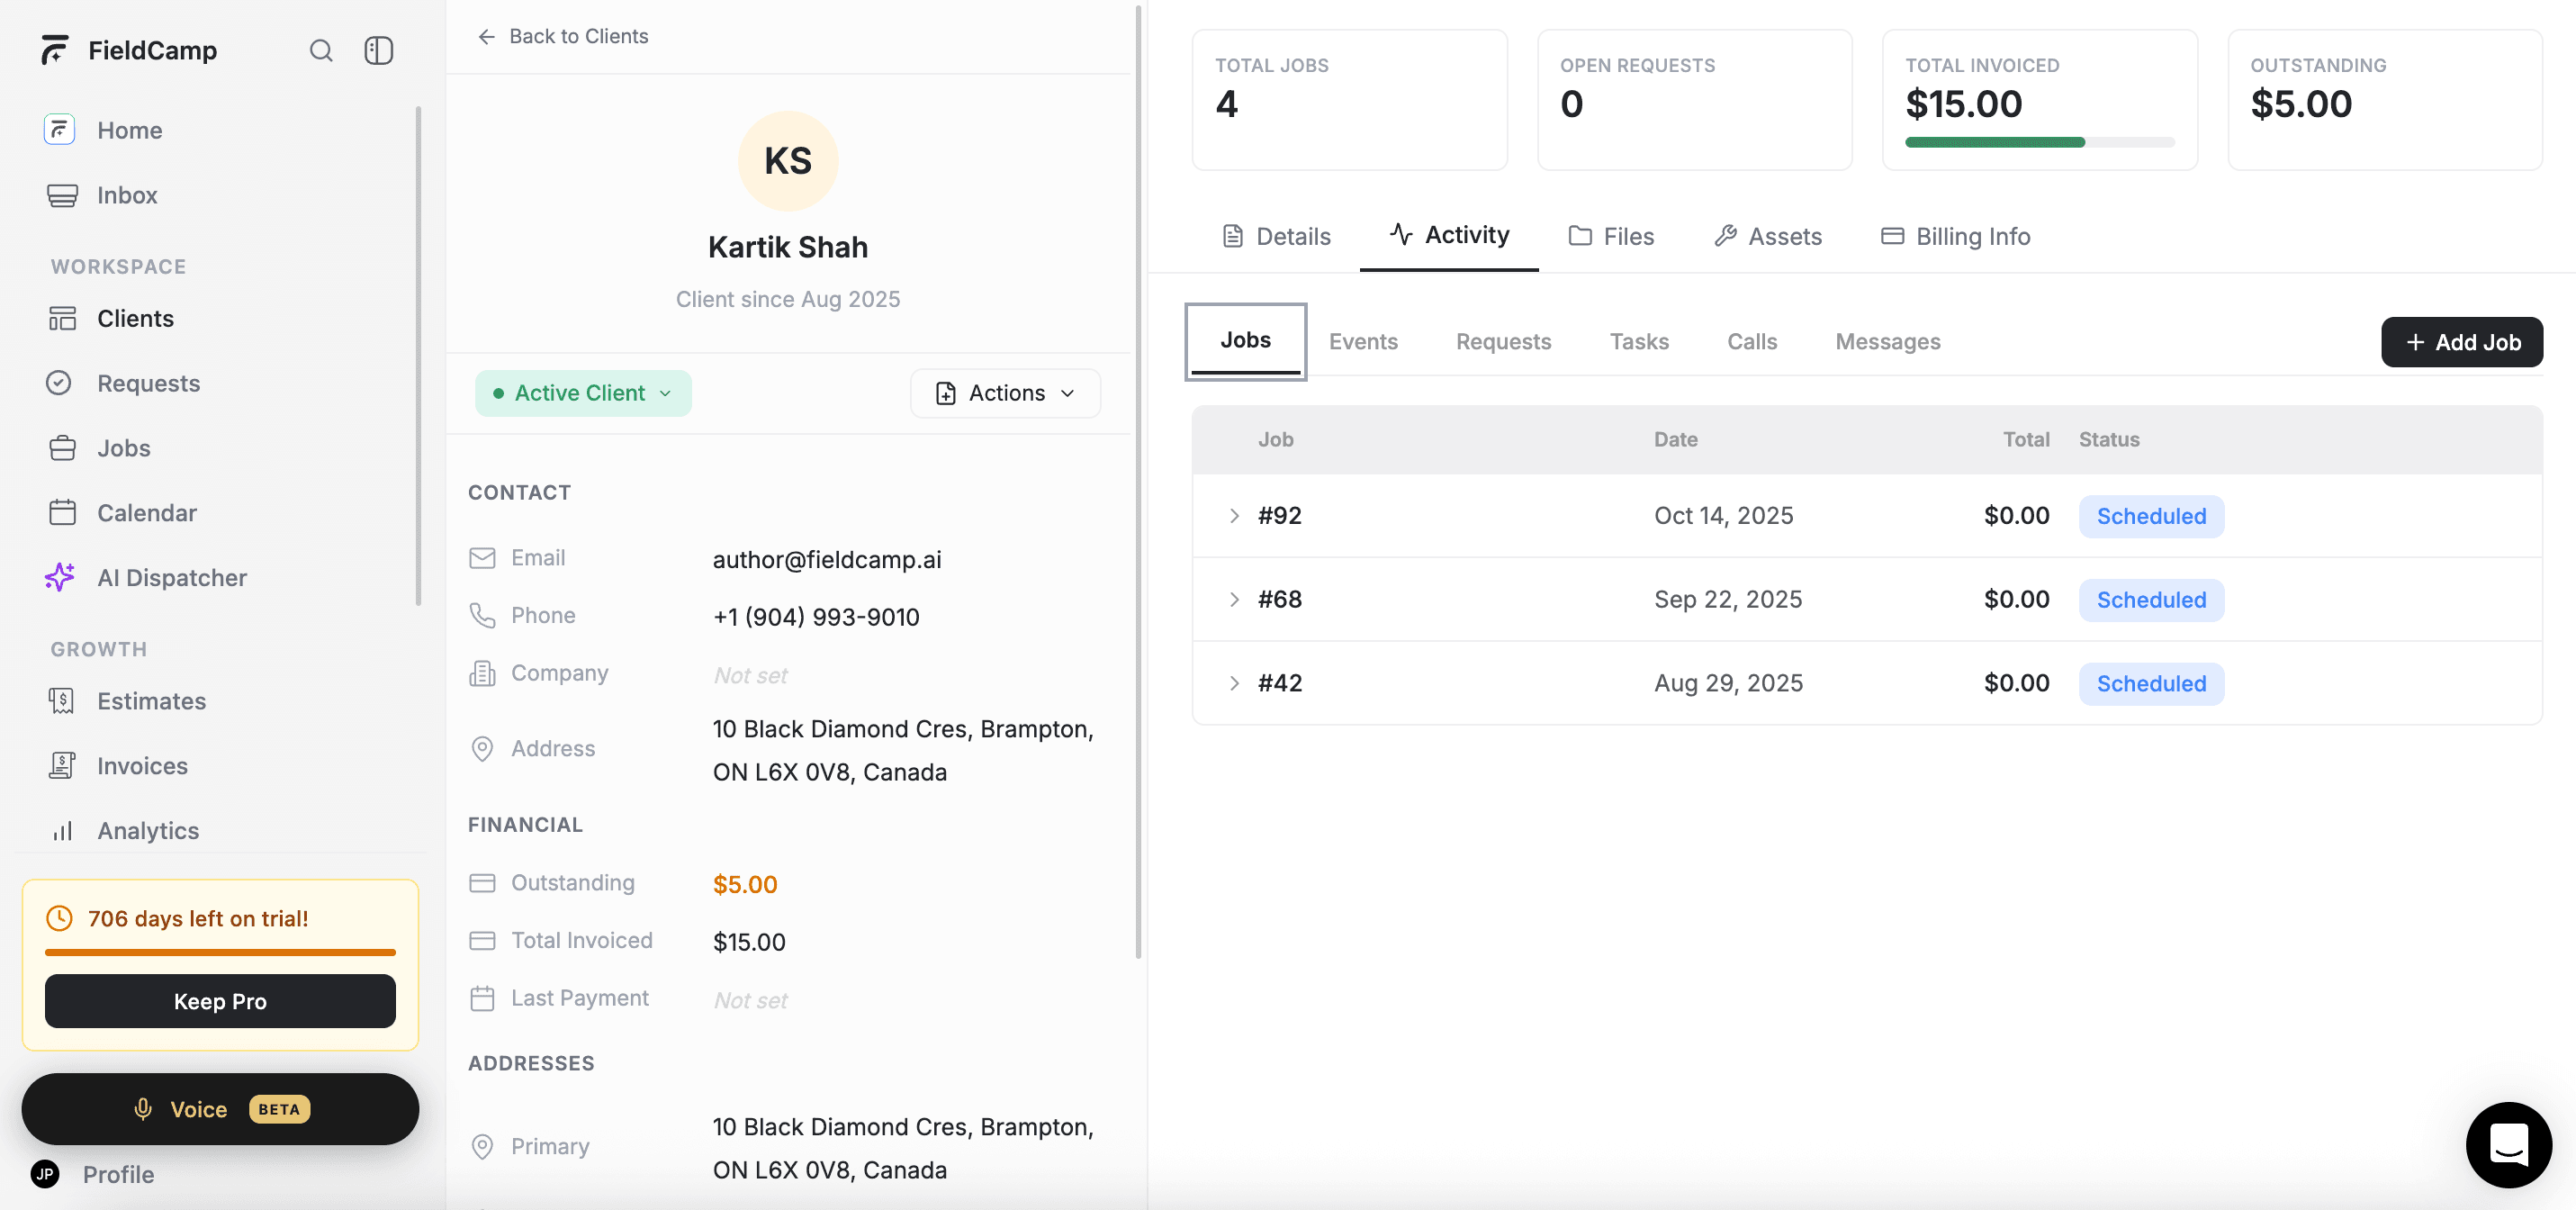
Every client detail page in FieldCamp includes a built-in communication hub. The Emails, Calls, and Messages tabs give you a complete view of every interaction with a client - all without leaving the record.
This keeps your team aligned: anyone looking at a client can see the full conversation history, not just the latest message.
You can send emails and SMS directly from the Command Centre — just type "Send an email to Sarah Johnson about her appointment tomorrow." See AI Skills for all available commands.
The Calls and Messages tabs require the Calls add-on to be enabled. If you see a "Calls Not Connected" message, contact your account administrator or go to Settings > Apps & Integrations to enable it.
Accessing Communication Tabs
- Open the Clients section from the main navigation
- Click any client name to open their detail page
- Look for the Emails, Calls, and Messages tabs in the client panel
The tabs appear in the communication section of the client sidebar. Clicking each tab loads that channel's history for the selected client.
Emails Tab
The Emails tab shows all email threads tied to the client's email address. It pulls from your connected email integration, so every inbound and outbound email is automatically synced.
Viewing Email Threads
Each row in the email list represents a thread. You can see:
- Participants - the sender and recipients in the thread
- Subject line - displayed in bold for unread threads
- Preview - the first line of the most recent message
- Timestamp - when the latest message was sent or received
- Message count - shown as a badge when a thread has more than one email
Click any thread to open the full conversation. FieldCamp automatically marks it as read when you open it.
Use the Search mail field at the top to find a specific thread by subject, sender, or content.
Composing a New Email
To send a new email to the client:
- Click the + (add) icon in the top-right of the Emails tab
- The compose window opens with the client's email pre-filled in the To field
- Add a subject, write your message, and send
You must have an email integration connected before you can compose emails. If no integration is configured, FieldCamp will show a prompt to add one. Go to Settings > Apps & Integrations to connect your email account.
The compose window uses your connected account as the sender. The client's email address is pulled automatically from their profile — for example, composing a new email to Sarah Johnson automatically fills in sarah@johnson.com.
Managing Emails with Multi-Select
You can act on multiple threads at once using the checkbox column on the left side of the email list:
- Select all - use the checkbox in the header row to select every thread on the current page
- Select individual threads - check the box next to any thread
Once one or more threads are selected, action icons appear in the toolbar:
| Action | What it does |
|---|---|
| Mark as read | Marks all selected threads as read |
| Mark as unread | Marks all selected threads as unread |
| Delete | Permanently removes the selected threads |
Pagination
The email list shows a fixed number of threads per page. Use the Previous and Next buttons at the bottom to navigate between pages. The footer also shows the current range (e.g., "Showing 1 to 20 of 47 entries").
Emails for archived clients are read-only. You can view existing threads, but the compose button is hidden until the client is moved back to an active stage.
Calls Tab
The Calls tab shows a complete log of every phone call made to or received from this client. Call records are created automatically when you use FieldCamp's built-in calling feature.
What's Tracked
Each call record displays:
- Call direction - an icon shows whether the call was inbound (green), outbound (dark), missed (red), or a voicemail (purple)
- Phone numbers - the client's number and the FieldCamp number used for the call
- Timestamp - the date and time the call took place
- Duration - total call length, formatted as minutes and seconds
- Outcome - a label you can assign to categorize the result (e.g., "Left voicemail," "Booked appointment")
Expanding a Call Record
Click any call row to expand it and see additional details:
- Recording - play the call recording directly in the browser, with a progress bar and playback speed controls (0.5x, 1x, 1.5x, 2x). You can also download the recording or copy a shareable link.
- Transcription - if transcription is enabled, the full call transcript appears below the recording player. Click Show more / Show less to expand or collapse it.
- AI summary - a short summary of the call generated by FieldCamp's AI, including key topics and sentiment (positive, neutral, or negative).
- Retranscribe - if you need a higher-quality transcript, use the retranscribe option to re-process the recording with AI-powered transcription.
Updating a Call Outcome
You can tag a call with an outcome to track what happened:
- Expand any call record by clicking on it
- Use the Outcome dropdown to select or update the outcome
- The change saves automatically
Outcomes are configured in Settings > Calls. You can create custom outcomes that match your team's workflow.
Bulk Actions
Use the checkboxes on the left side to select multiple call records. When calls are selected, a Delete button appears at the top of the list. This is useful for clearing test calls or old records in bulk.
Callbacks
From any expanded call record, you can initiate a callback directly. FieldCamp places the call using your primary phone number and the client's number on file.
Calls Add-on Requirement
If the Calls add-on is not enabled, the Calls tab shows an empty state with a prompt to connect it. If the add-on is enabled but no phone numbers are purchased, a separate prompt guides you to Settings > Apps & Integrations > Calls to buy a number.
![]()
Call history is read-only for archived clients. The tab is still accessible to review past calls, but new calls cannot be initiated until the client is restored to an active stage.
Messages Tab
The Messages tab shows the SMS conversation history between your team and the client. Like the Calls tab, it requires the Calls add-on and a purchased phone number.
Viewing the Conversation
Messages are displayed in a chat-style view:
- Outbound messages (sent by your team) appear on the right side in dark bubbles
- Inbound messages (received from the client) appear on the left in white bubbles with a border
- Each message shows a timestamp. Today's messages show the time only; older messages show the day and time.
- Outbound messages show a delivery status icon:
- Single checkmark - sent
- Double checkmark - delivered
- Alert icon - failed
Sending a Message
- Type your message in the text field at the bottom of the Messages tab
- Press Enter or click Send
The message is sent immediately from your primary FieldCamp phone number. The conversation updates in real time.
If your account has multiple active phone numbers, a phone number selector appears at the top of the tab. Choose which number to send from before typing your message.
Requirements
The Messages tab requires:
- The Calls add-on enabled on your account
- At least one active phone number purchased through FieldCamp
- The client must have a phone number on their profile
If the client has no phone number saved, FieldCamp shows a prompt to add one before messaging is available.
You cannot send messages to archived clients. The input field is hidden when a client is in a final stage. Restore the client to an active stage to re-enable messaging.
Best Practices
- Connect your email integration before you need it. Setting up email in advance means FieldCamp starts syncing threads right away, so you never lose an email that arrived before you connected.
- Use outcomes on every call. Consistent outcome tagging makes it easy to filter and report on call results across your team.
- Search before composing. Use the email search bar to check whether a thread already exists before starting a new one. This prevents duplicate conversations.
- Review AI call summaries after client calls. The AI summary gives you a quick recap without replaying the full recording - useful before a follow-up visit.
- Keep client phone numbers updated. The Messages tab won't load if the client's profile has no phone number. Keeping contact details current ensures messaging is always available.
- Use multi-select to clean up old emails. Periodically select and delete test threads or resolved conversations to keep the email tab uncluttered.
- Check the Calls tab before a job. A quick review of recent calls gives technicians context about what was discussed with the client before they arrive on site.
Related Articles
- Client Detail Page - View and manage all information about a client
- Client Actions Menu - Initiate calls and SMS directly from the Actions button
- Delete or Archive a Client - Understand how archived status affects communication features
- Client Files, Documents and Drive - Manage uploaded files, billing documents, and cloud storage
- Creating Clients - Add new clients to FieldCamp
- AI Skills - Everything you can do with the Command Centre
Custom Objects, Fields, and Pipelines | FieldCamp
Design custom objects, fields, and pipelines in FieldCamp with validation rules, stage transitions, and saved custom views across every record type.
Client Files, Documents & Drive | FieldCamp
Upload client files, view estimates and invoices, and manage cloud storage with FieldCamp's Files, Documents, and Drive tabs on the client detail page.